
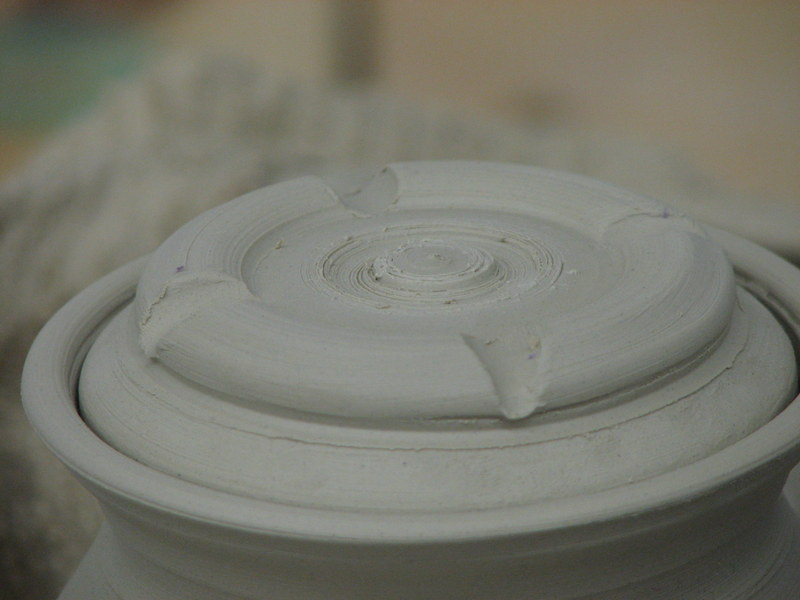
Starting with the lid. I trim it to the shape that I want and score the center to attach a hollow knob to attach the rest of the lid.
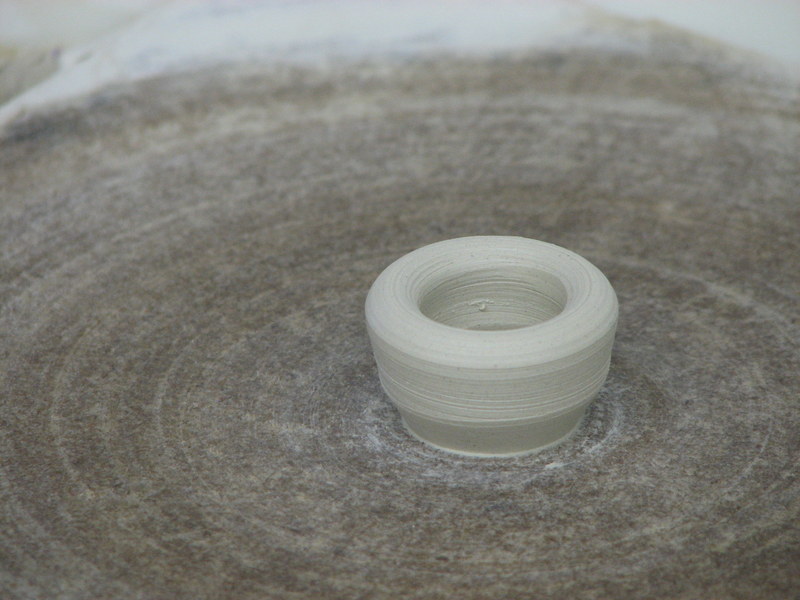
the knob is thrown on the wheel. I make this piece to separate the lid top visually from the lid that it rests on.
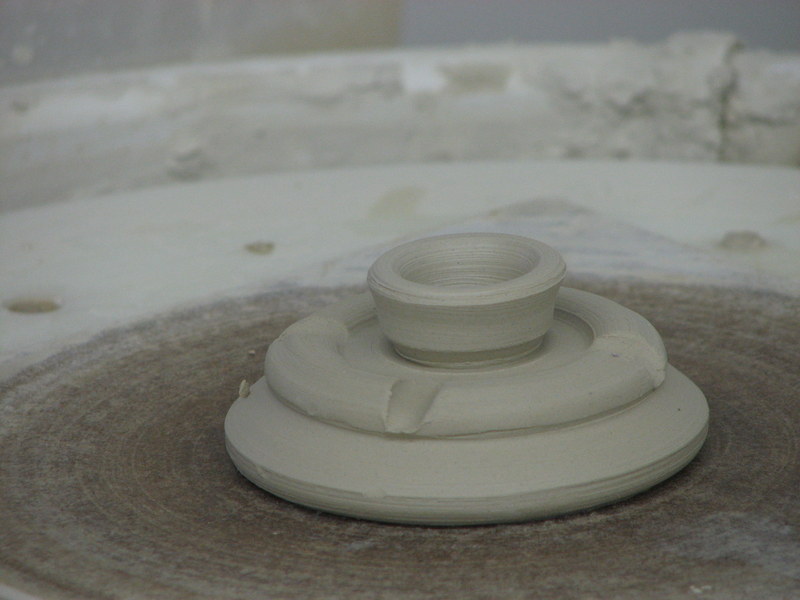
Joining the lid and the knob. the scoring that I did earlier to the lid ensures that the lid is firmly attached to the knob. the knob is a bit more moist than the lid. creating a buffer of moisture between the dryer lid and the moist top. This helps to discourage the piece from cracking as it dries.
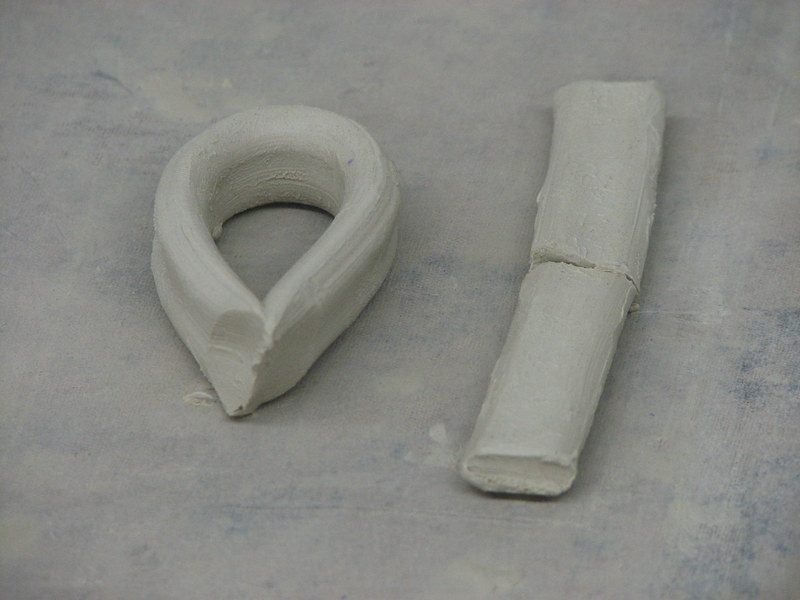
forming the rest of the knob. the clay is pulled just like if I were making a mug. the challenge here is to keep the lid in proportion to the rest of the piece. Due to the greater degree of bending, I attach these pieces when they are fairly moist .

The pulled portion is attached to the rest of the lid. the lid is especially fragile until the bisque firing, so I have to take extra care with these style lids.
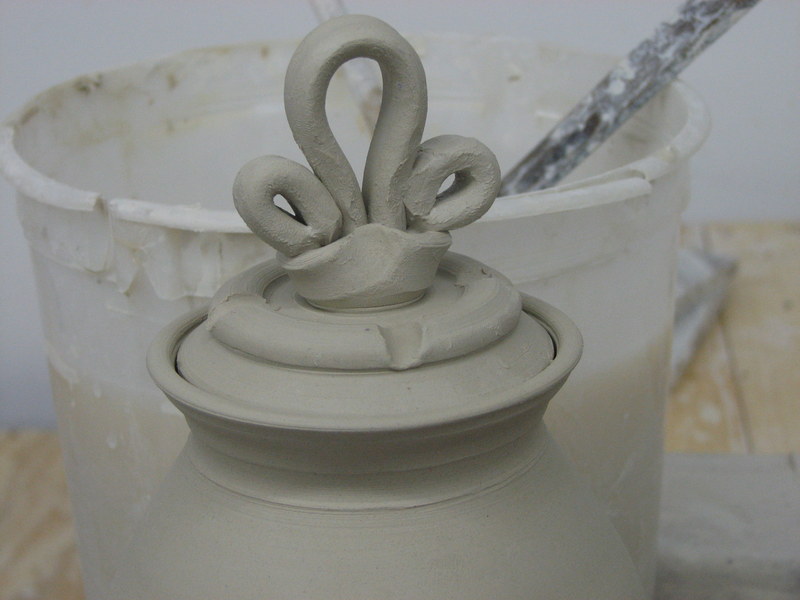
Attaching the lid the best that I can. I will take a chopstick and join the pieces together the best that I can in this step. I will also check the curvature of the loops to make sure that they are as even as possible.